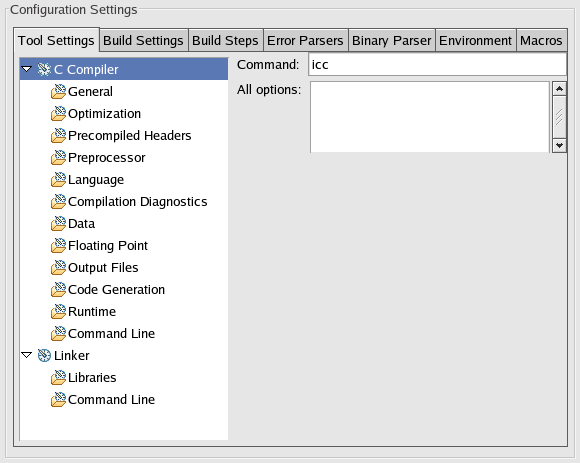
The Intel® C++ Compiler integration with Eclipse*/CDT* lets you specify compiler, linker, and archiver options at the project and source file level.
Follow these steps to set options for your project:
To reset properties to their default setting, click Restore Defaults. The Restore Defaults button appears on each property page, but the Restore Defaults action applies to ALL property pages.
In addition to setting compiler options for your entire project, you can also specify options for any source file in your project.

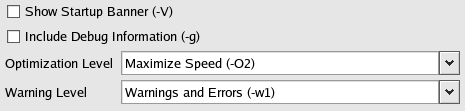
Some properties use check boxes, drop-down lists, or other input mechanisms to specify a compiler option.
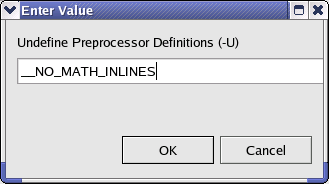
Several options let you specify arguments. Click New to add an argument to the list. Enter a valid argument for the option, then click OK.
If you want to specify an option that is not available from the Properties dialog, use the Command Line category. Enter the command line options in the Additional Options text box just as you would enter them on the command line.
